
The Shopify plugin links your Evolution ERP tenant to a Shopify store so that your catalogue, customers and online orders stay in step with one system of record. Evolution remains the master for products, pricing and customers; Shopify is the storefront. Orders placed online flow back into Evolution as projects, are invoiced and paid, and fulfilment status is pushed back to Shopify as you pick and dispatch.
How Evolution maps to Shopify
The integration keeps a fixed set of Evolution entities aligned with their Shopify equivalents. Understanding this mapping makes the rest of the documentation easier to follow.
| Evolution ERP | Direction | Shopify |
|---|---|---|
| Inventory Category | trending_flat | Collection |
| Inventory Item | trending_flat | Product |
| Inventory Item variation | trending_flat | Product Variation |
| Inventory Price | trending_flat | Product / Variation Price |
| Inventory Hero Image | trending_flat | Product Image |
| Account / Contact | trending_flat | Customer (or B2B Company on Shopify Plus) |
| Project | trending_flat | Order |
| Picking / Dispatch | trending_flat | Order Fulfilment |
Products, categories and customers push out from Evolution to Shopify. Orders pull in from Shopify and become projects. Fulfilment status is then pushed back out as you pick and dispatch.
Where to find it
The plugin is managed from the Shopify Plugin page, reached from the Plugins area of Evolution. The plugin manager is the central console: it holds the configuration steps, the order-processing settings and the list of unprocessed orders.
Several tasks can also be started directly from the relevant Evolution register — for example, publishing a category from the Inventory Category Register, or editing a product's Shopify details from the item record.
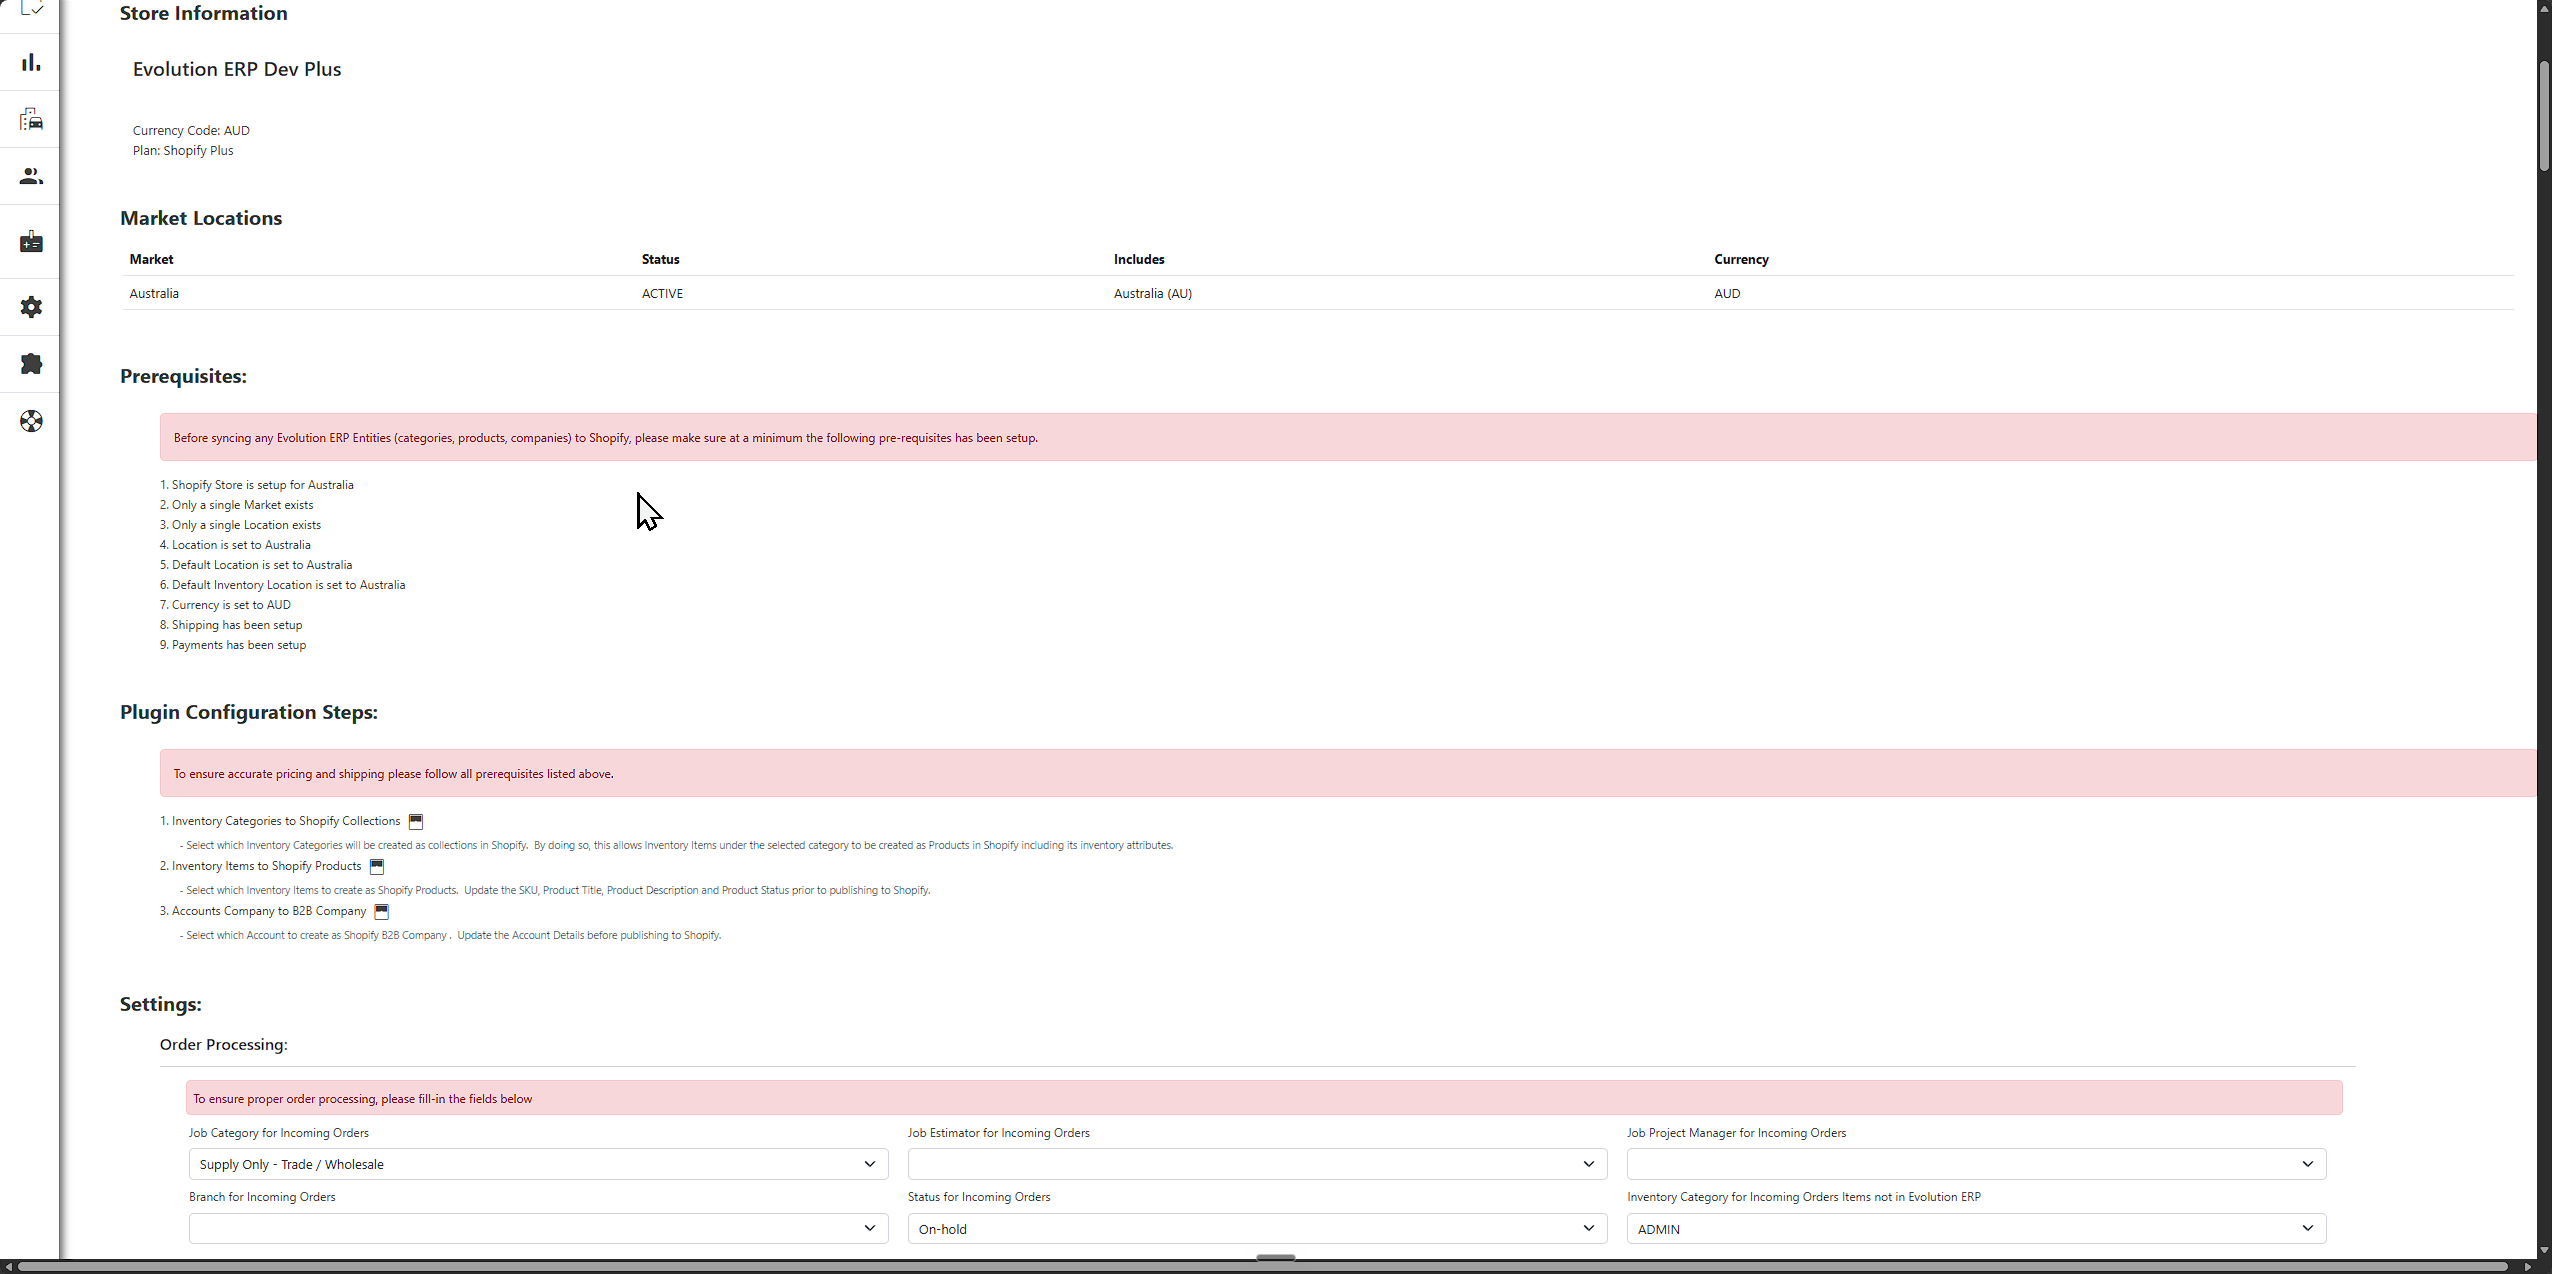
Prerequisites
Before syncing any Evolution entities (categories, products, companies) to Shopify, confirm the Shopify store is configured for a single Australian market:
- Shopify store is set up for Australia
- Only a single Market exists, and it is set to Australia
- Only a single Location exists, and it is set to Australia
- Default Location and Default Inventory Location are set to Australia
- Currency is set to AUD
- Shipping has been set up
- Payments have been set up
Connecting the store
Connecting is two steps, done in order, on the Shopify Configuration screen. Step 1 tells Evolution which Shopify app to use; step 2 installs that app on your store so it is allowed to act on your behalf. A badge at the top of the panel always shows which of the three states you are in:
| Badge | What it means |
|---|---|
| Not configured | No app details saved yet. Start at step 1. |
| Not installed yet | Details are saved, but the app has not been installed on the store. Do step 2. |
| Connected | Evolution can talk to your store. Nothing more to do here. |
Step 1 — Enter this company's Shopify app details
In the Shopify admin for the store, go to Settings → Apps and sales channels → Develop apps, open this company's app, and copy these from the API credentials tab:
- Shopify Store URL — your
*.myshopify.comaddress - Client ID — the app's API key
- Client Secret — the app's API secret key
Choose Save Configuration. The details are saved whether or not the app is installed yet — that is what step 2 is for.
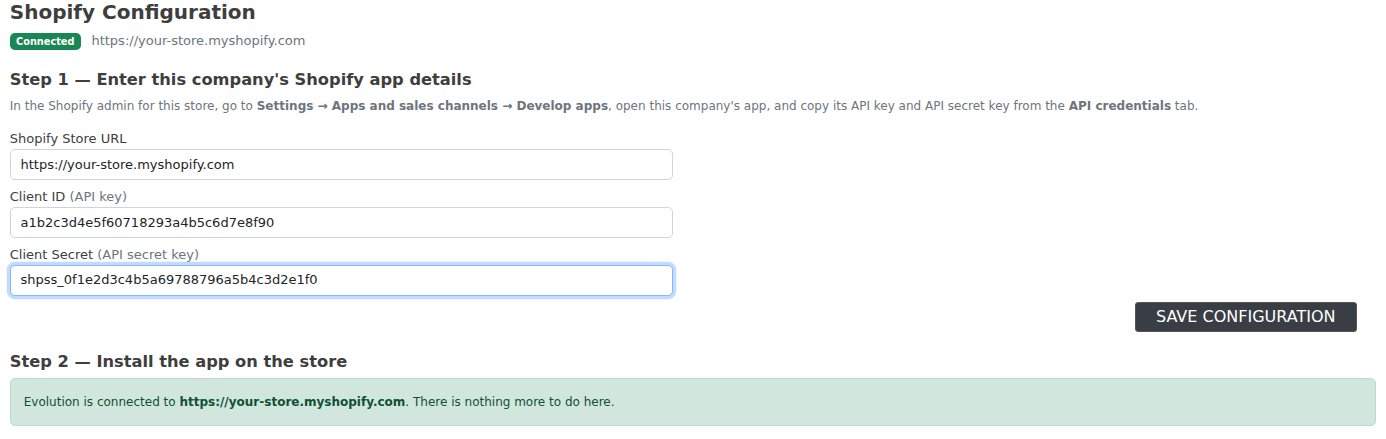
Step 2 — Install the app on the store
Choose Connect to Shopify. Evolution builds an install link from the details you just saved, so it always points at this company's app and this company's store, and sends you to Shopify to approve it. Approve the permissions and Shopify returns you to Evolution with the badge showing Connected.

You need to be signed in to that store's Shopify admin as someone who can approve app installs. Only an administrator in Evolution can complete either step; everyone else sees the panel read-only.
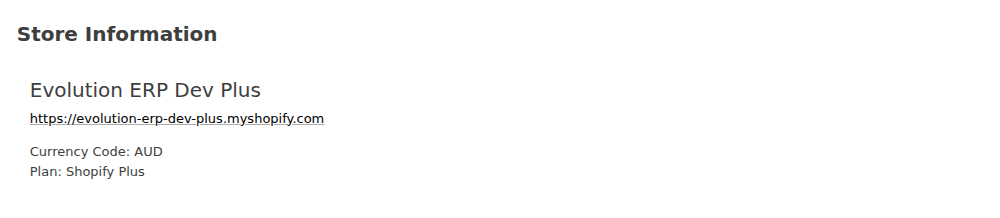
Once connected, the Store Information panel shows the store name, URL, currency code and plan (Standard or Shopify Plus). The plan matters: B2B Company and pricing-catalog features are only available on Shopify Plus.
If the connection stops working
If the app is uninstalled in the Shopify admin, the permission Evolution was given goes with it. Evolution notices the next time it calls Shopify, clears the stale permission and re-tests the connection on its own. If it cannot re-establish it, the badge returns to Not installed yet — choose Connect to Shopify again to reinstate it.
Changing the Client ID, Client Secret or Store URL and saving also clears the existing permission, because it may now refer to a different app or a different store. Expect to run step 2 again after any such change.
Recommended setup order
The plugin manager lists the configuration steps in the order they should be done:
- Inventory Categories to Shopify Collections — choose which categories become collections. Only items under a published category can be published as products.
- Inventory Items to Shopify Products — choose which items to publish, and set the SKU, title, description and status before publishing.
- Accounts to Shopify Customers (or Accounts Company to B2B Company on Shopify Plus) — choose which accounts to publish as customers or B2B companies.
After that, configure the Order Processing, Invoicing, Payment and Shipping settings so incoming orders can be turned into projects automatically.
In this section
inventory_2 Inventory & Products
Publish categories as collections and items as products, with variations, images and pricing.
Inventory & Products →group Customers
Publish accounts and contacts as Shopify customers, and understand the customer-matching strategy.
Customers →manage_search Search Registers
Use saved searches to control which items, categories and accounts appear for syncing.
Search Registers →receipt_long Orders
Turn Shopify orders into projects and invoices, and push fulfilment back as you pick and dispatch.
Orders →sell B2B Pricing Catalogs
Map Evolution contracts and customer segments to Shopify B2B catalogs and price lists (Shopify Plus).
B2B Pricing Catalogs →